Cal.com Integration
What the AI can do
Summary
Cal.com Integration connects Cal.com (open-source scheduling platform) with Newo Platform.
It enables:
- Checking real-time availability slots with configurable booking window
- Booking appointments with dynamic custom field support
- Cancelling existing appointments
- Rescheduling appointments using AI-powered extraction from conversation
- Two operation modes: strict availability ("general") and overbooking-friendly ("guest")
This integration is designed for businesses and service providers who need automated appointment scheduling through a conversational AI agent (voice or chat) using hosted Cal.com US or EU accounts.
Common use cases
- When a client asks about available slots → Check Cal.com availability and return open time slots for the configured booking window
- When a client wants to book an appointment → Collect customer info and custom fields, create booking in Cal.com
- When a client wants to cancel an appointment → Cancel the booking in Cal.com with reason
- When a client wants to reschedule → AI extracts booking details from conversation and reschedules in Cal.com
- When a conversation starts → Silently preload nearest available slots into agent's prompt context
Features at a glance
| Feature | Supported | Notes |
|---|---|---|
| Check Availability | ✅ | Configurable booking window (default: 5 days) |
| Book Appointment | ✅ | With dynamic custom booking fields from event type |
| Cancel Appointment | ✅ | With cancellation reason |
| Reschedule Appointment | ✅ | AI-powered payload extraction from conversation |
| Silent Availability Preload | ✅ | Injects slots into prompt on session start |
| General Mode | ✅ | Strict availability — prevents overbooking |
| Guest Mode | ✅ | Allows overbooking, adds manager as guest |
| Personal Event Types | ✅ | Individual calendar events |
| Team Event Types | ✅ | Team-level calendar events |
| Dynamic Custom Fields | ✅ | Auto-discovered from Cal.com event type configuration |
| Self-Hosted Cal.com | ✅ | Configurable base URL |
| Multi-Location Support | ❌ | One event type per instance; use multiple instances |
| Existing Client Lookup | ❌ | ExistingClientFlow is a placeholder |
Before You Start
Before installation:
- Active hosted Cal.com account in the US or EU environment
- Cal.com API Token (Bearer token for v2 API)
- Cal.com hosting region (
USorEU)
Setup
Create the Newo project
If this project already exists in Newo Builder, skip this subsection and continue with the integration-specific settings below.
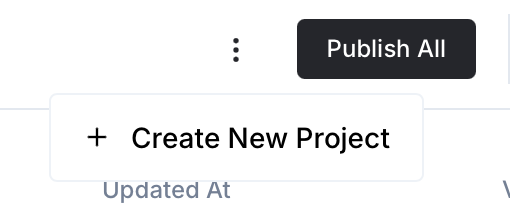
- In Newo Builder, open the projects list and click Create Project (or Create New Project from the top-right menu).
- Fill IDN and Title. The exact names do not matter; use any clear names your team will recognize.
- In Registry, choose the release channel:
- staging — the newest module fixes appear here first. Use it when you need the latest fix, but expect possible unfinished changes.
- production — the final stable version for live projects.
- In Module, select the module for this integration.
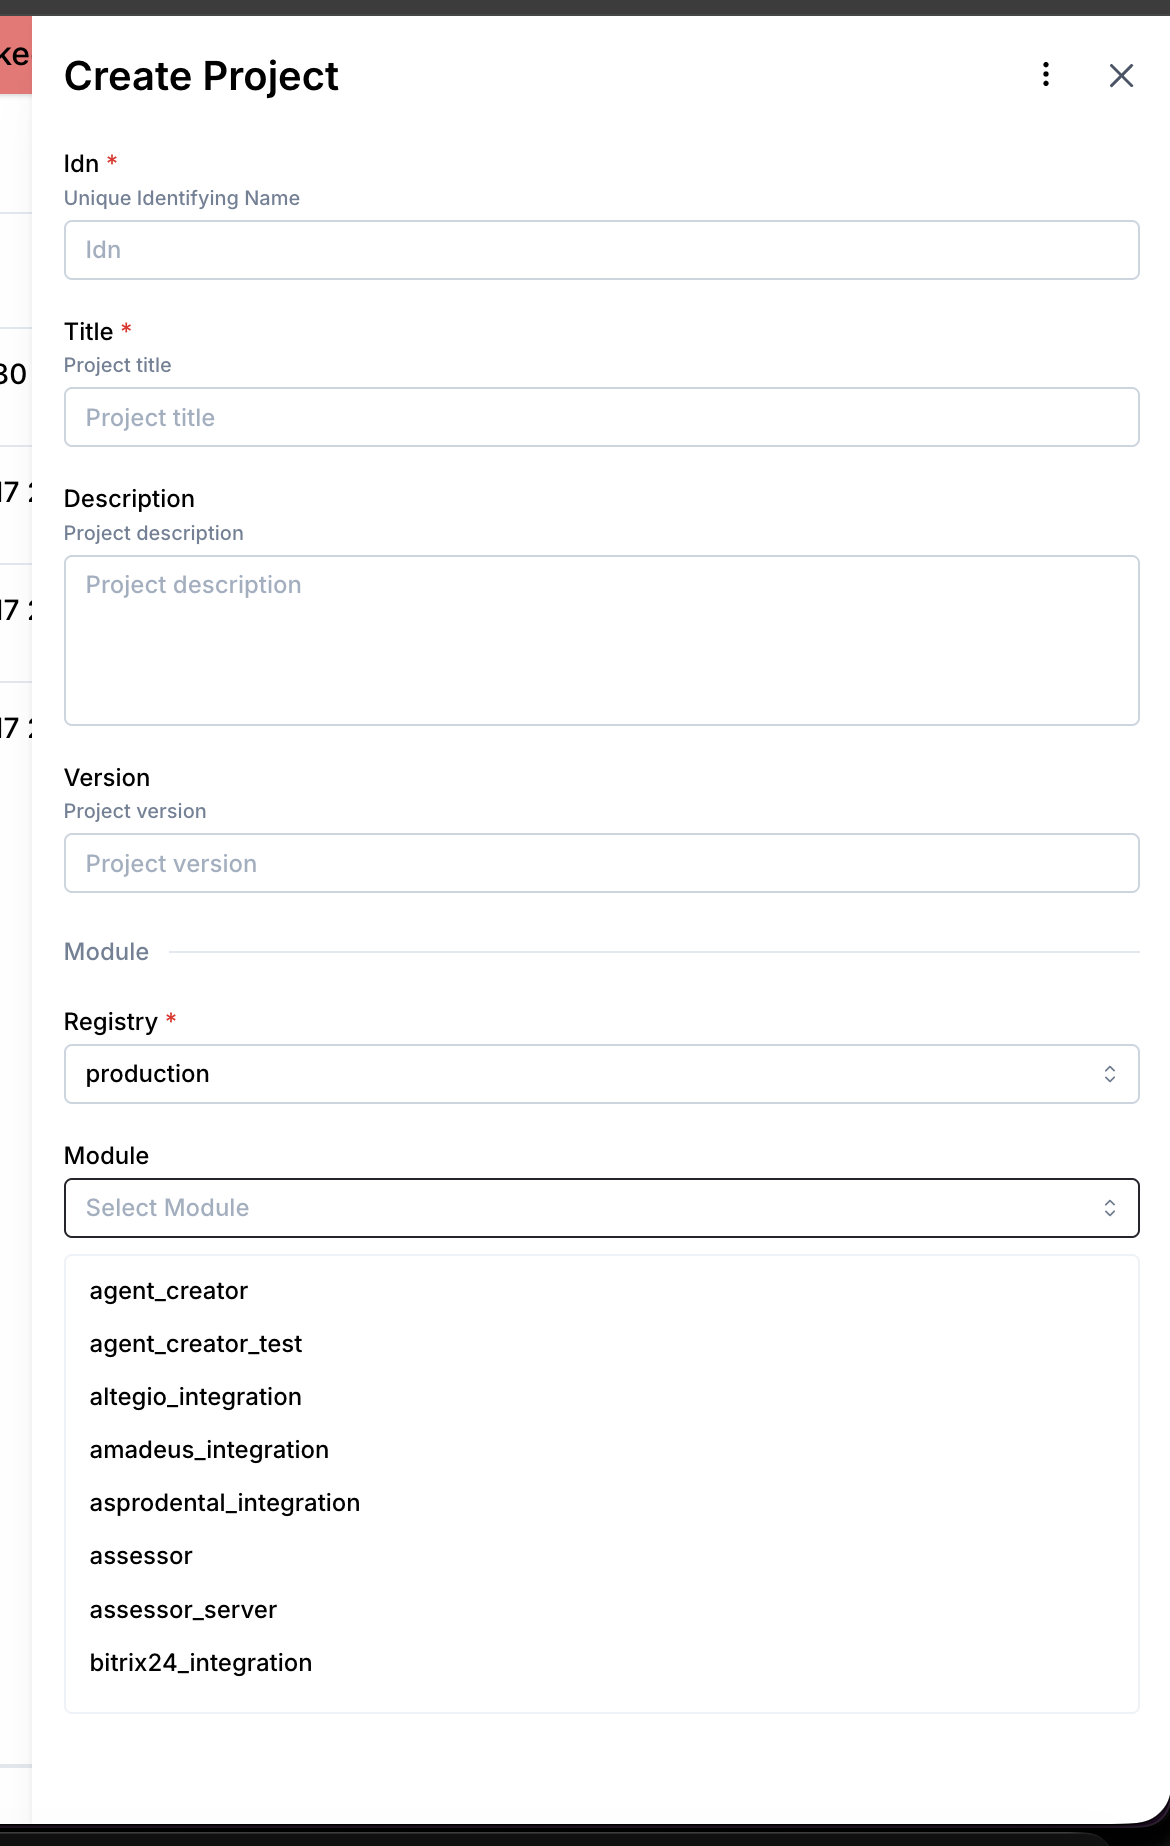 5. Leave Module version on Latest version unless support tells you to pin a specific version, then click Create.
3.1 Step 1 — Generate API Token in Cal.com
- Log in to your Cal.com account
- Navigate to Settings → Developer → API Keys
- Click Create API Key
- Copy the generated token and store it securely
3.2 Step 2 — Connect in Platform
- Open Newo → Projects
- Set the following attributes in Builder / Attributes:
| Attribute | Required | Description |
|---|---|---|
calcom_api_token | ✅ | Bearer token for Cal.com API authentication |
calcom_region | ❌ | Hosting region: US or EU (default: US) |
calcom_base_url | ❌ | API base URL; managed automatically from calcom_region |
calcom_mode | ❌ | Operation mode: general or guest (default: general) |
calcom_event_mode | ❌ | Event source: Personal or Team (default: Personal) |
calcom_event_type | ❌ | Auto-populated during setup from available event types |
calcom_booking_window | ❌ | Days into future to show slots (default: 5) |
calcom_enable_slot_check | ❌ | Enable availability checking (default: True) |
calcom_enable_booking | ❌ | Enable booking capability (default: True) |
calcom_enable_cancellation | ❌ | Enable cancellation capability (default: True) |
calcom_required_field_descriptions | ❌ | Descriptions for custom fields (one per line: field: desc) |
- Click Save + Publish All
- On publish, the SetupFlow automatically:
- Validates the API token
- Fetches available teams from Cal.com
- Fetches and selects event types (Personal or Team)
- Extracts custom booking fields from event type configuration
- Injects dynamic booking schemas for the agent
How to use the integration
This section explains how the integration works, how to configure automation, and how to test it.
4.1 How the Integration Works
The integration operates based on Triggers and Actions via the event-driven system.
- A Trigger is a system event that starts a flow
- An Action is the API operation performed in Cal.com
Where to test
Testing can be done through the Newo conversation interface (chat or voice channel) by interacting with the agent. Use the chat transcript and external-system console to confirm the result.
How to test that everything works
To test the integration:
- Setup: Publish the project and verify logs show successful event type discovery and schema injection
- Availability: Ask the agent "What slots are available this week?" — verify slots returned from Cal.com
- Booking: Complete a booking conversation with name, email, phone — verify appointment appears in Cal.com dashboard
- Cancellation: Request cancellation of a booked appointment — verify status changed in Cal.com
- Reschedule: Ask to move an existing appointment — verify new time in Cal.com
If no action occurs:
- Ensure
calcom_api_tokenis set correctly - Verify
calcom_base_urlpoints to the correct Cal.com instance - Confirm
calcom_event_typewas populated during setup (re-publish if empty) - Check that the relevant feature flags are enabled (
calcom_enable_booking,calcom_enable_slot_check,calcom_enable_cancellation) - Verify
calcom_modeis set to the desired operation mode
Note: This integration performs real operations in Cal.com. Appointments created, cancelled, or rescheduled through the agent are reflected in the live Cal.com system.
FAQ
Q: Does the integration import historical appointments? A: No. Only appointments created after activation are processed. Rescheduling references bookings stored in persona attributes from prior agent interactions.
Q: Can I connect multiple Cal.com accounts? A: Each integration instance supports one API token and one event type. For multiple accounts or event types, create separate integration instances.
Q: What is the difference between "general" and "guest" mode? A: In general mode, the agent checks availability before booking — overbooking is prevented. In guest mode, availability checks are bypassed and the manager is added as a guest to the meeting, allowing overbooking.
Q: How are custom booking fields handled?
A: During setup, the integration auto-discovers required custom fields from the Cal.com event type configuration. These fields are injected into the booking schema so the agent knows to collect them from the user. Field descriptions can be customized via the calcom_required_field_descriptions attribute.
Q: Does it work with self-hosted Cal.com? A: The current hosted-region setup supports Cal.com US and EU endpoints. Self-hosted instances are not part of this setup flow.
Q: What happens on session start?
A: If calcom_enable_slot_check is enabled, the integration silently fetches today's availability and injects it into the agent's prompt context. This allows the agent to proactively mention available slots without the user asking first.
Q: What slot durations are supported?
A: Slot duration is determined by the selected Cal.com event type (e.g., 15, 30, 60 min). The calcom_booking_window attribute controls how many days ahead to show slots (default: 5 days).