DentComm Integration
What the AI can do
Summary
DentComm Integration connects DentComm (dental practice management system by DentTracks) with Newo Platform.
It enables:
- Checking real-time appointment availability with LLM-based appointment type matching
- Booking dental appointments with automatic new vs existing patient detection
- Looking up existing upcoming appointments for the caller or a selected family member
- Confirming upcoming appointments in DentComm
- Rescheduling upcoming appointments with live slot re-selection
- Routing cancellation requests to the front desk with human handoff
- Slot caching for seamless booking after availability check
- Configurable booking window for forward-looking availability
This integration is designed for dental clinic administrators and front-desk teams who need automated appointment scheduling through a conversational AI agent (voice or chat).
Common use cases
- When a patient asks about available slots → Resolve visit reason to appointment type via LLM, return available slots
- When a patient wants to book an appointment → Check if patient exists by phone, create appointment with cached slot data
- When a new patient books → Automatically detect and create with full patient details (name, DOB, email, phone)
- When a returning patient books → Find existing record by phone and use patient ID
- When a patient asks what appointment they already have → Look up the exact upcoming appointment for self or family member
- When a patient wants to confirm an appointment → Retrieve the appointment and mark it confirmed
- When a patient wants to move an appointment → Retrieve the existing appointment, fetch new availability, and reschedule it
- When a patient wants to cancel → Transfer to the front desk instead of cancelling programmatically
Features at a glance
| Feature | Supported | Notes |
|---|---|---|
| Check Availability | ✅ | With LLM-based appointment type resolution |
| Book Appointment | ✅ | Auto-detects new vs existing patient by phone |
| Existing Appointment Lookup | ✅ | Supports self and family-member upcoming appointment lookup |
| Appointment Confirmation | ✅ | Confirms a selected upcoming appointment |
| Reschedule Appointment | ✅ | Reuses live availability and exact appointment selection |
| Cancel Appointment | ⚠️ | Human handoff only; no autonomous cancellation API call |
| Appointment Type Matching | ✅ | LLM matches visit_reason to available types (Gemini) |
| Slot Caching | ✅ | Caches slots per session, cleared after booking |
| Patient Lookup | ✅ | By phone number |
| Family Account Lookup | ✅ | Supports selecting the exact family member |
| Configurable Booking Window | ✅ | Default 14 days, configurable via attribute |
| Timezone Handling | ✅ | Converts to business timezone for display |
| Multi-Location Support | ❌ | Single clinic ID per instance |
| Historical Appointment History | ❌ | Focused on upcoming appointment retrieval only |
Before You Start
Before installation:
- Active DentComm account with API access
- DentComm API Key (
x-api-keyheader) - Clinic ID (identifies the dental practice)
- DentComm API base URL (default:
https://api.dev.denttracks.com/api/dentcomm)
Setup
Create the Newo project
If this project already exists in Newo Builder, skip this subsection and continue with the integration-specific settings below.
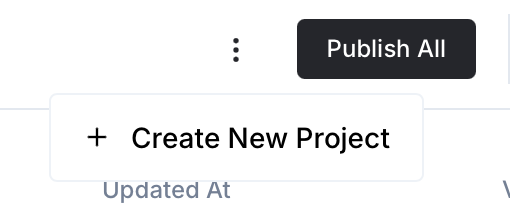
- In Newo Builder, open the projects list and click Create Project (or Create New Project from the top-right menu).
- Fill IDN and Title. The exact names do not matter; use any clear names your team will recognize.
- In Registry, choose the release channel:
- staging — the newest module fixes appear here first. Use it when you need the latest fix, but expect possible unfinished changes.
- production — the final stable version for live projects.
- In Module, select the module for this integration.
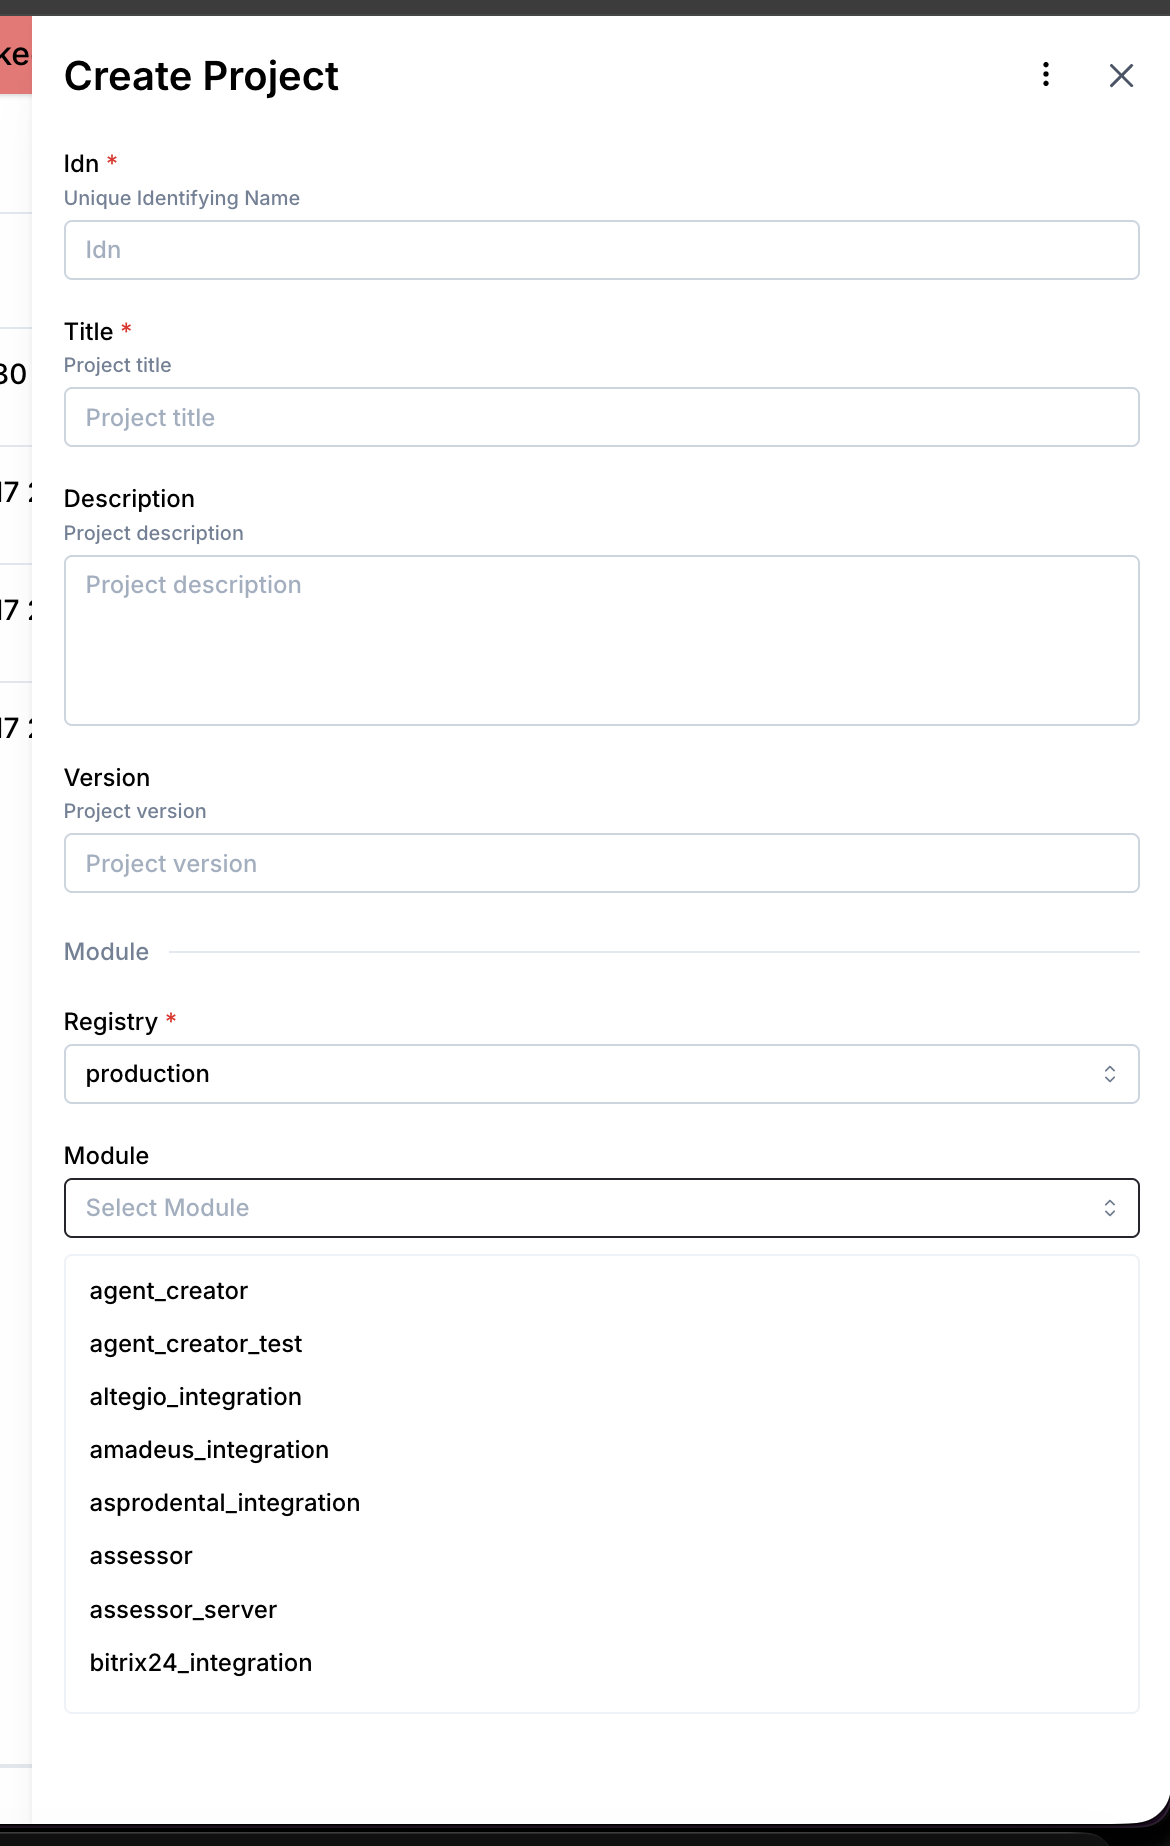 5. Leave Module version on Latest version unless support tells you to pin a specific version, then click Create.
3.1 Step 1 — Obtain Credentials from DentComm
- Log in to your DentComm / DentTracks account
- Navigate to the API or developer settings section
- Obtain the following:
- API Key for authentication
- Clinic ID for your practice
- Store credentials securely
3.2 Step 2 — Connect in Platform
- Open Newo → Projects
- Set the following attributes in Builder / Attributes:
| Attribute | Required | Description |
|---|---|---|
dentcomm_api_key | ✅ | API key for DentComm authentication (x-api-key header) |
dentcomm_clinic_id | ✅ | Clinic/practice identifier (clinic-id header) |
dentcomm_base_url | ❌ | API base URL (default: https://api.dev.denttracks.com/api/dentcomm) |
dentcomm_booking_window | ❌ | Days ahead to show availability (default: 14) |
dentcomm_override_agent_attributes | ❌ | Override superagent booking settings (default: True) |
- Click Save + Publish All
- On publish, the SetupFlow automatically:
- Validates the API credentials
- Creates the connection for DentComm
- Injects booking and availability payload schemas for the agent
How to use the integration
This section explains how the integration works, how to configure automation, and how to test it.
4.1 How the Integration Works
The integration operates based on Triggers and Actions via the event-driven system.
- A Trigger is a system event that starts a flow
- An Action is the API operation performed in DentComm
Where to test
Testing can be done through the Newo conversation interface (chat or voice channel) by interacting with the agent. The AvailabilityFlow also has a dedicated test skill triggered via the integration_test webhook event.
How to test that everything works
To test the integration:
- Setup: Publish the project and verify schemas are injected (check for
booking_payload_schema_templateattribute) - Availability: Ask the agent "What slots are available for a cleaning?" — verify appointment types are resolved and slots returned
- Booking (new patient): Book with a new phone number — verify
isNewPatient: trueand patient details sent - Booking (existing patient): Book with a known phone number — verify
patientIdused instead of full details - Existing appointment lookup: Ask "What appointment do I have on file?" — verify the correct patient or family-member appointment block is returned
- Confirmation: Ask to confirm a known upcoming appointment — verify the appointment is selected and confirmation succeeds
- Reschedule: Ask to move a known upcoming appointment, select a newly offered slot, and verify the appointment is rescheduled
If no action occurs:
- Ensure
dentcomm_api_keyanddentcomm_clinic_idare set correctly - Verify
dentcomm_base_urlpoints to the correct endpoint - Confirm the integration was re-published after configuration changes
- Check that the slot cache contains data (availability must be checked before booking)
Note: This integration performs real operations in DentComm. Appointments created through the agent are reflected in the live dental practice management system.
FAQ
Q: Does the integration support cancellations, confirmations, or rescheduling? A: Confirmation and rescheduling are supported. Cancellation is intentionally not processed autonomously; the agent routes cancellation requests to the front desk or callback flow instead of sending a cancellation API request.
Q: Can the integration look up an existing appointment before taking action? A: Yes. The agent can retrieve upcoming appointments for the current patient or for a selected family member, then use that result for lookup, confirmation, or rescheduling flows.
Q: Can I connect multiple clinics? A: Each integration instance supports one clinic ID. For multiple clinics, create separate integration instances.
Q: How does appointment type matching work? A: When a patient describes their visit reason (e.g., "teeth cleaning", "checkup"), an LLM (Gemini) matches it to available appointment types from DentComm using zero-temperature generation for deterministic results. For ambiguous requests, the safest/most general option is selected.
Q: Why does the agent need to check availability before booking?
A: The availability check caches slot metadata (operatory ID, provider ID, provider name, duration, original start time, appointment type ID) in a persona attribute. It also returns availability grouped by resource, where DentComm uses a provider-aware label in the form YYYY-MM-DD | Provider Name while keeping location=YYYY-MM-DD for backwards compatibility. The booking and reschedule flows retrieve the cached slot data to construct the final request, including provider-specific selections when multiple providers share the same time. Without a prior availability check, the cache is empty and booking will fail.
Q: Can the agent honor a preferred provider?
A: Yes, when the current live availability results include provider-specific resource entries for that provider. In that case the agent can offer and book provider-specific slots. If the requested provider does not appear in the current availability results, the agent should offer another provider/date-time or route to front desk help.
Q: What patient data is required for a new patient booking? A: First name, last name, date of birth (YYYY-MM-DD), email, and phone number (E.164 format). For existing patients, only the phone number is needed for lookup.
Q: How is the booking window configured?
A: The dentcomm_booking_window attribute controls how many days ahead slots are shown (default: 14 days). When a patient asks for availability on a specific date, slots are returned from that date through date + booking_window days.