Calendly Integration
What the AI can do
Summary
Calendly Integration connects Calendly (scheduling automation platform) with Newo Platform.
It enables:
- Checking real-time availability by calculating open slots from scheduled events
- Booking appointments via the Calendly Invitee API with automatic outbound call location
- Cancelling existing appointments with reason tracking
- OAuth 2.0 authentication with automatic token refresh
- Auto-discovery and selection of event types from the Calendly account
- Auto-configuration of ConvoAgent booking/cancellation scenarios on canvas
This integration is designed for businesses and service providers who need automated appointment scheduling through a conversational AI agent (voice or chat), with Calendly as their calendar backend.
Common use cases
- When a client asks about available slots → Check Calendly scheduled events and return open time slots for the configured window (up to 7 days)
- When a client wants to book an appointment → Collect customer info (name, email, phone), create a Calendly invitee with outbound call location
- When a client wants to cancel an appointment → Cancel the scheduled event in Calendly with a cancellation reason
- When a conversation starts → Optionally auto-check availability and inject slots into the agent's context
- When the project is published → Automatically set up OAuth, fetch event types, inject booking schemas
Features at a glance
| Feature | Supported | Notes |
|---|---|---|
| Check Availability | ✅ | Configurable window (default: 5 days, max 7 per API limit) |
| Book Appointment | ✅ | With outbound call location and SMS reminders |
| Cancel Appointment | ✅ | With cancellation reason |
| OAuth 2.0 Authentication | ✅ | With automatic token refresh on 401 (up to 3 retries) |
| Event Type Auto-Discovery | ✅ | Auto-populates enum from active event types |
| Silent Availability Preload | ✅ | Optional, on session start |
| Canvas Auto-Setup | ✅ | Injects booking and cancellation scenarios with intents |
| Configurable Slot Duration | ✅ | Default: 30 minutes |
| Timezone Handling | ✅ | Converts between customer timezone and UTC |
| Reschedule Appointment | ❌ | Not implemented |
| Multi-Event-Type Support | ❌ | One event type per instance |
| Personal Access Token (PAT) | ❌ | OAuth 2.0 only |
Before You Start
Before installation:
- Active Calendly account (Professional plan or higher for API access)
- Calendly OAuth Application registered in the Developer Portal
- At least one Event Type configured with Location = Phone Call (Outbound)
Setup
Create the Newo project
If this project already exists in Newo Builder, skip this subsection and continue with the integration-specific settings below.
- In Newo Builder, open the projects list and click Create Project (or Create New Project from the top-right menu).
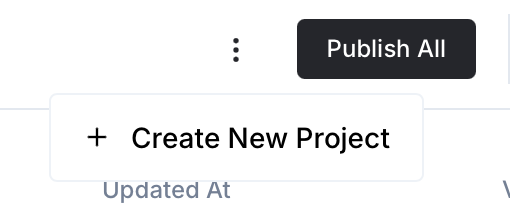
- Fill IDN and Title. The exact names do not matter; use any clear names your team will recognize.
- In Registry, choose the release channel:
- staging — the newest module fixes appear here first. Use it when you need the latest fix, but expect possible unfinished changes.
- production — the final stable version for live projects.
- In Module, select the module for this integration.
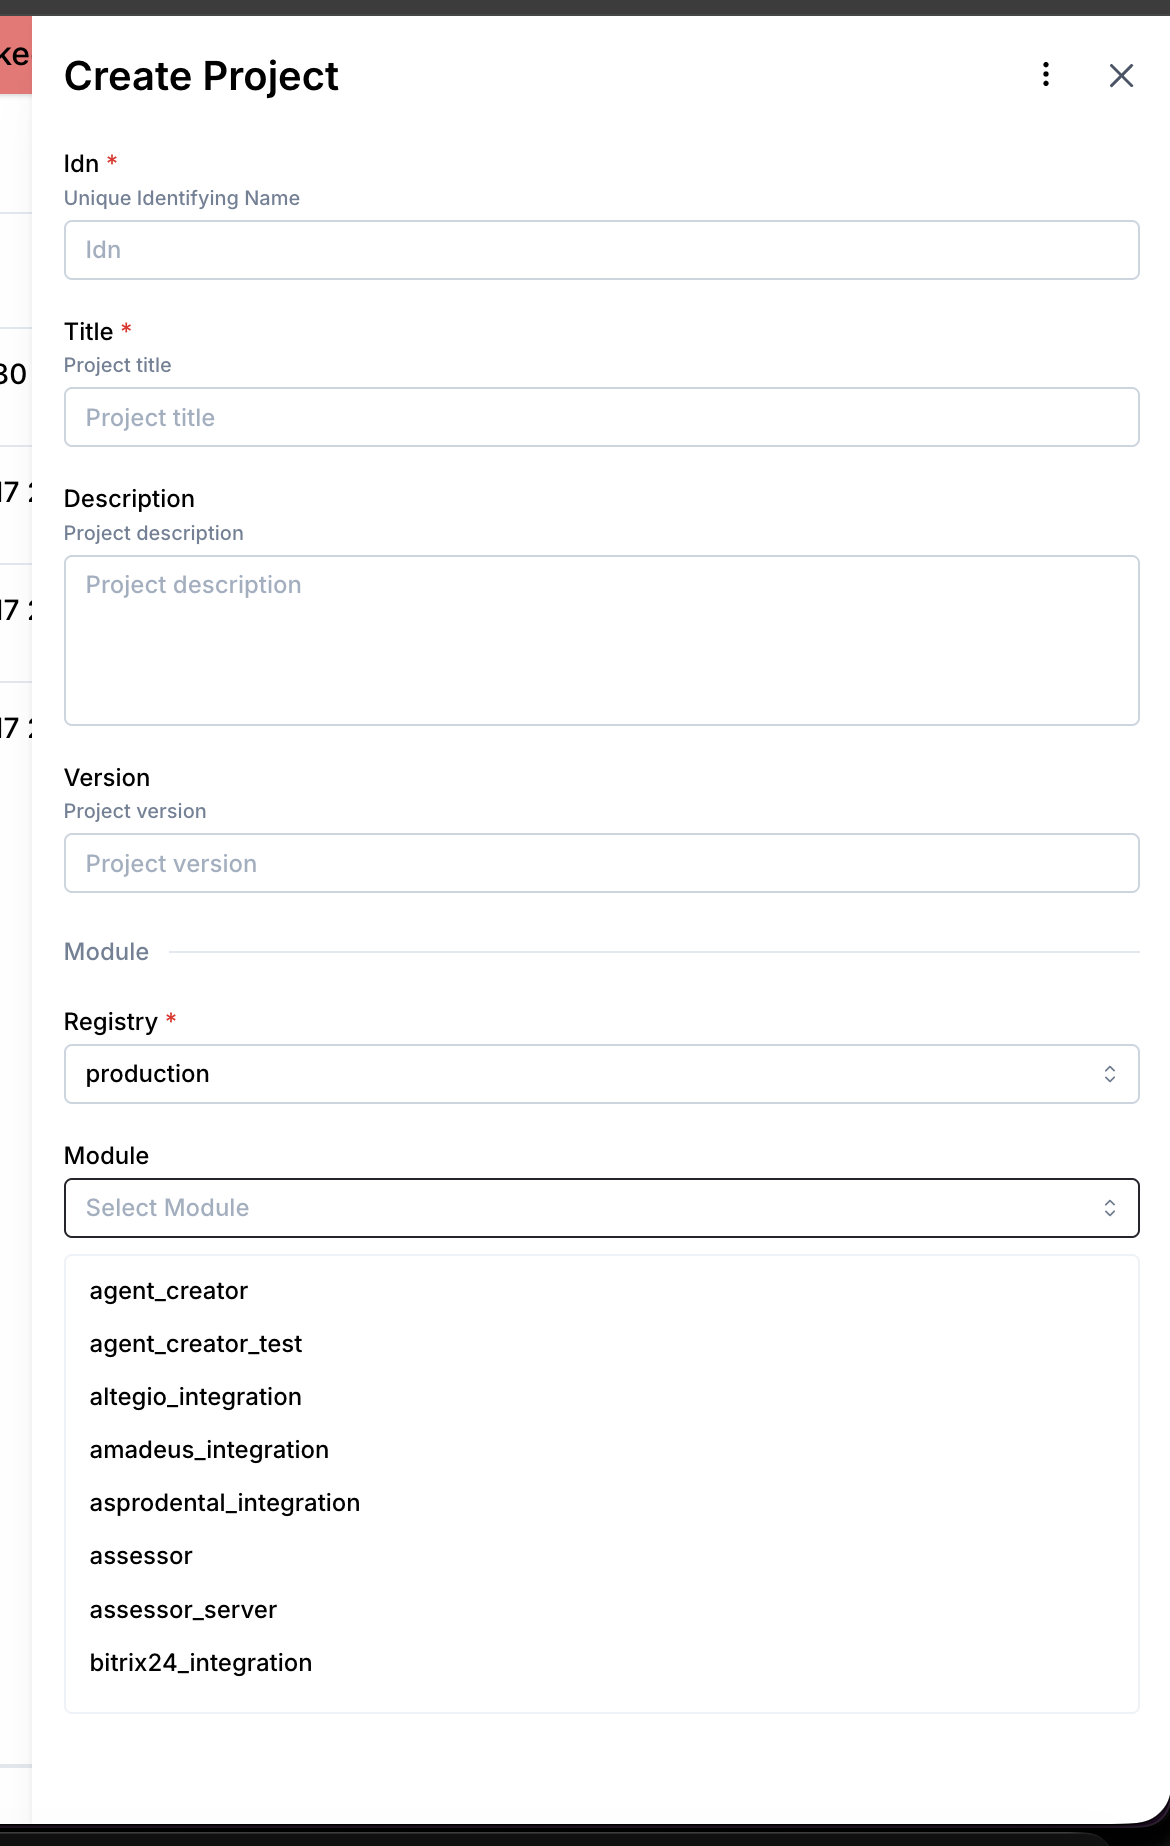 5. Leave Module version on Latest version unless support tells you to pin a specific version, then click Create.
3.1 Step 1 — Create an OAuth Application in Calendly
- Go to the Calendly Developer Portal and create a developer account if you don't have one
- Navigate to My Apps and click Create New App
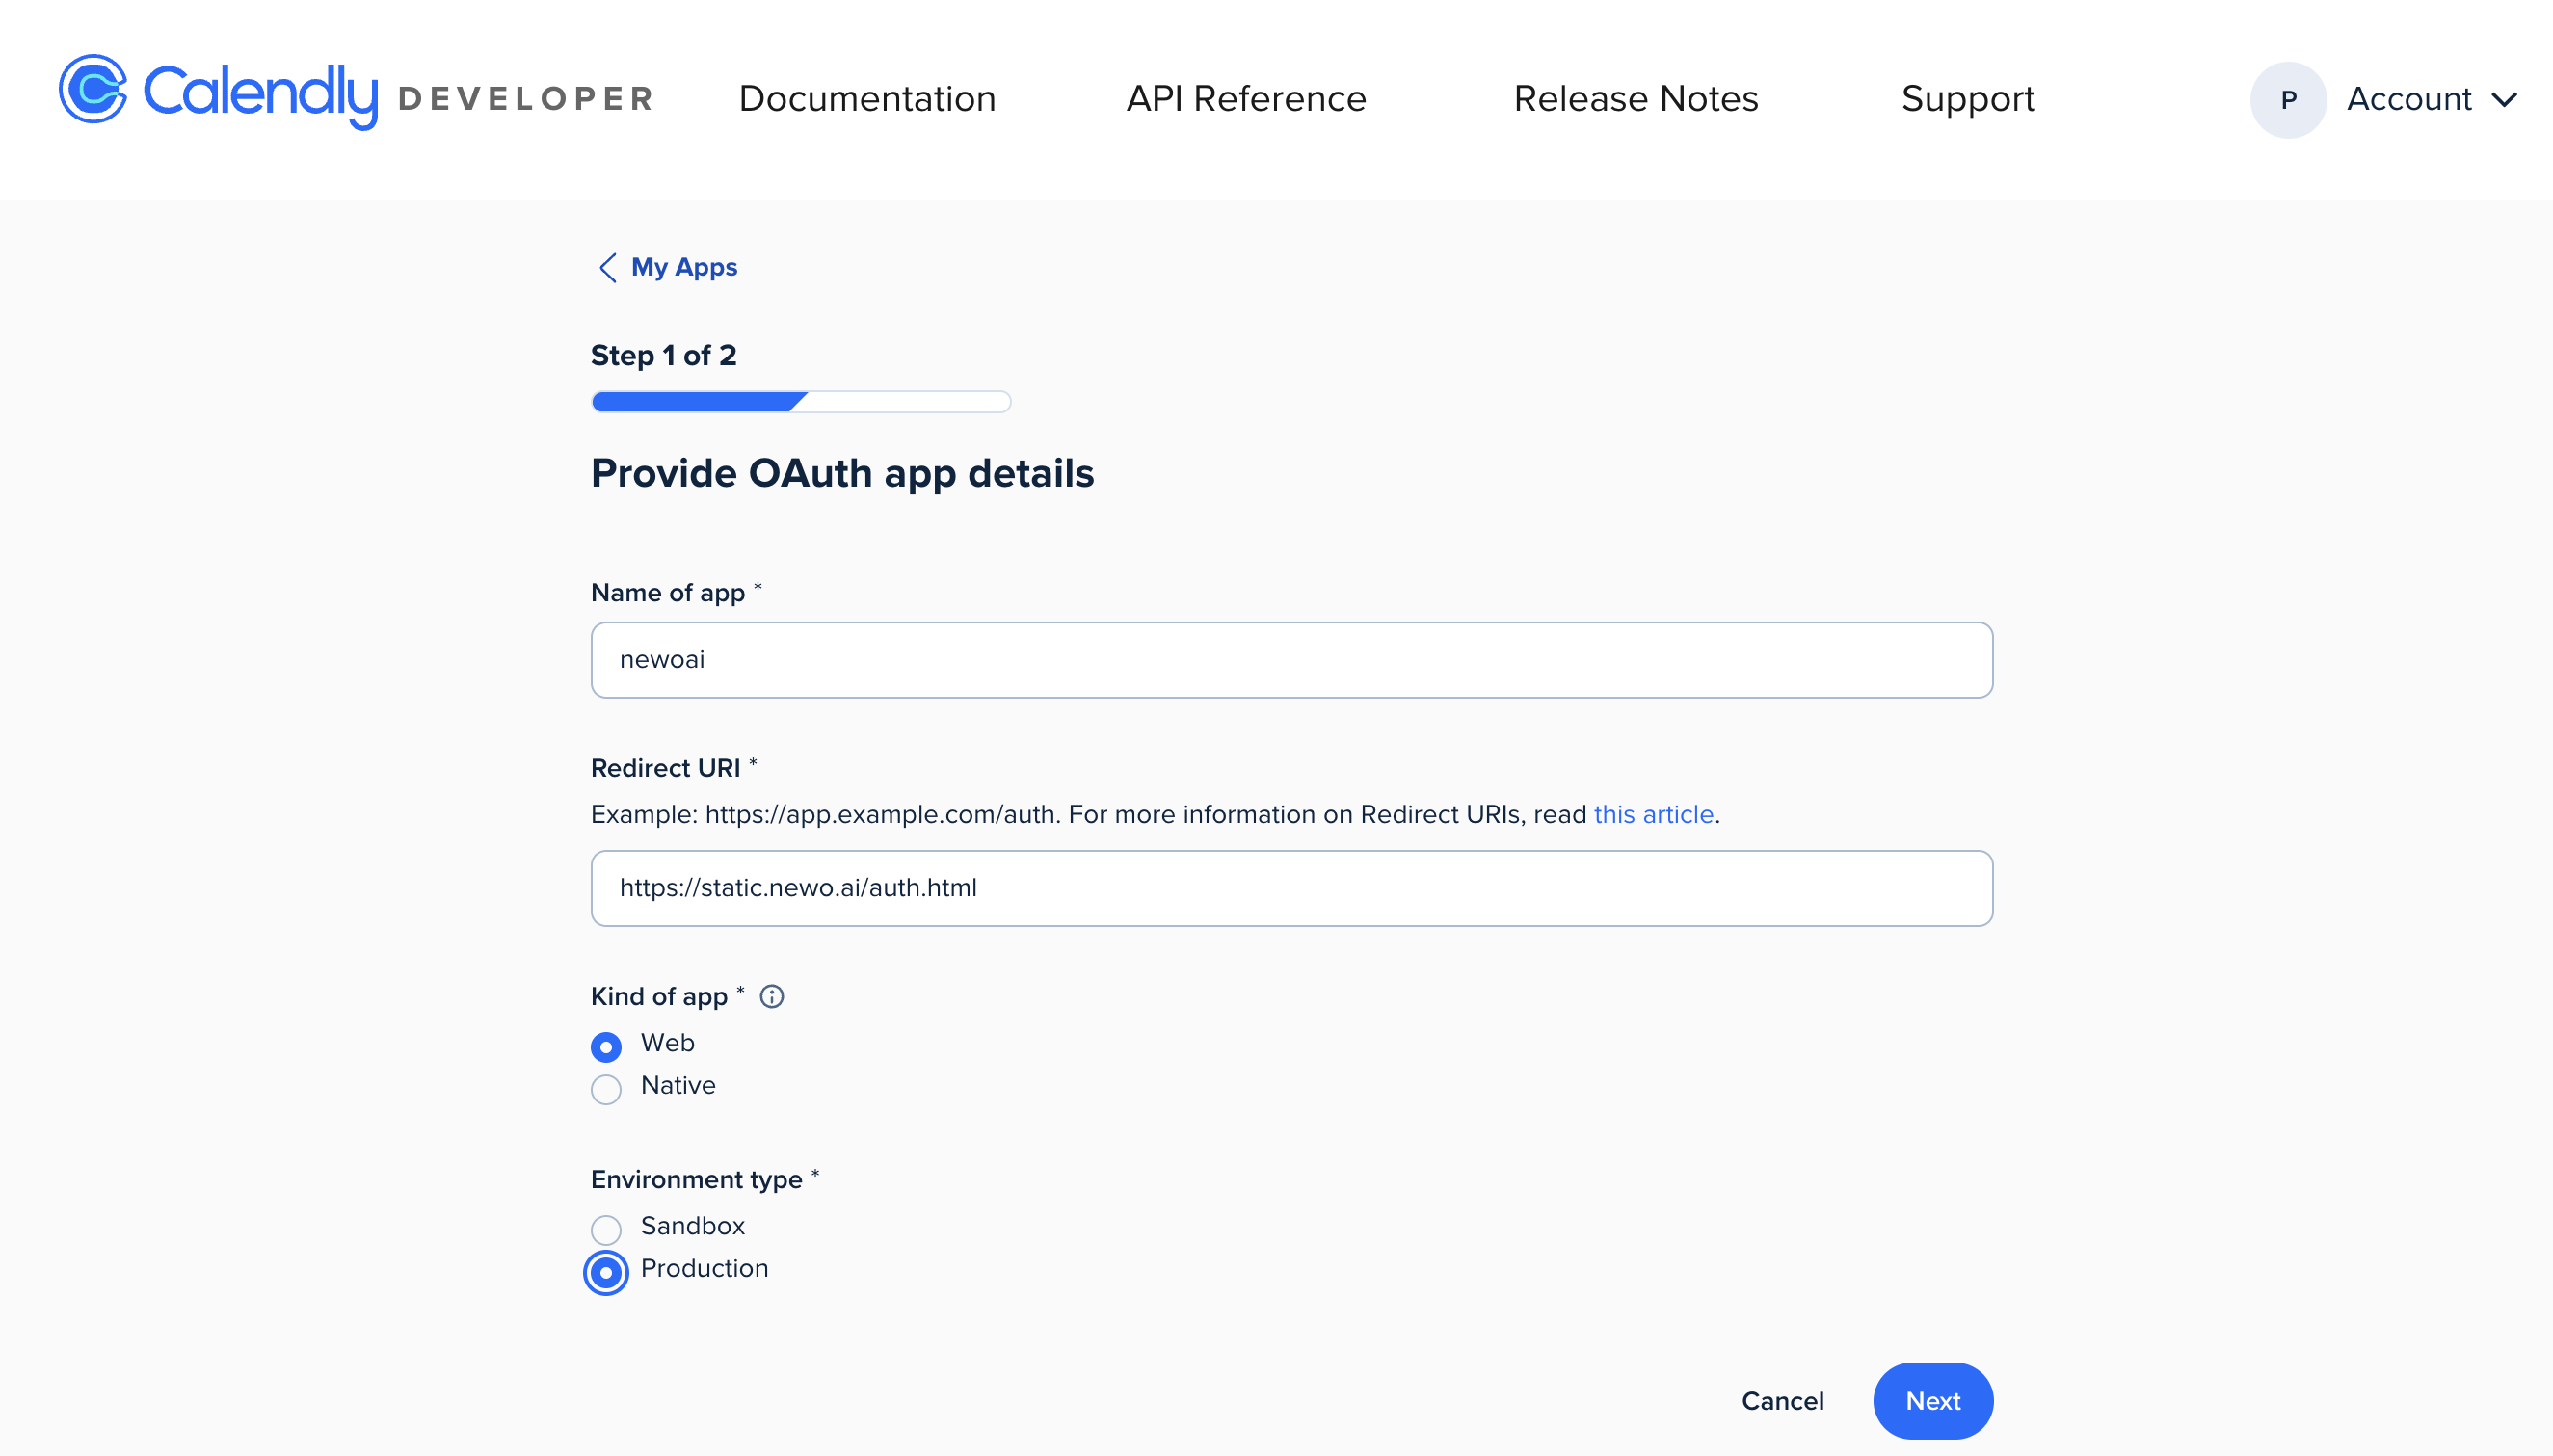
- Step 1 of 2 — Provide OAuth app details:
- Name of app: Enter a name (e.g.,
newoai) - Redirect URI: Enter
https://static.newo.ai/auth.html - Kind of app: Select Web
- Environment type: Select Production
- Click Next
- Name of app: Enter a name (e.g.,
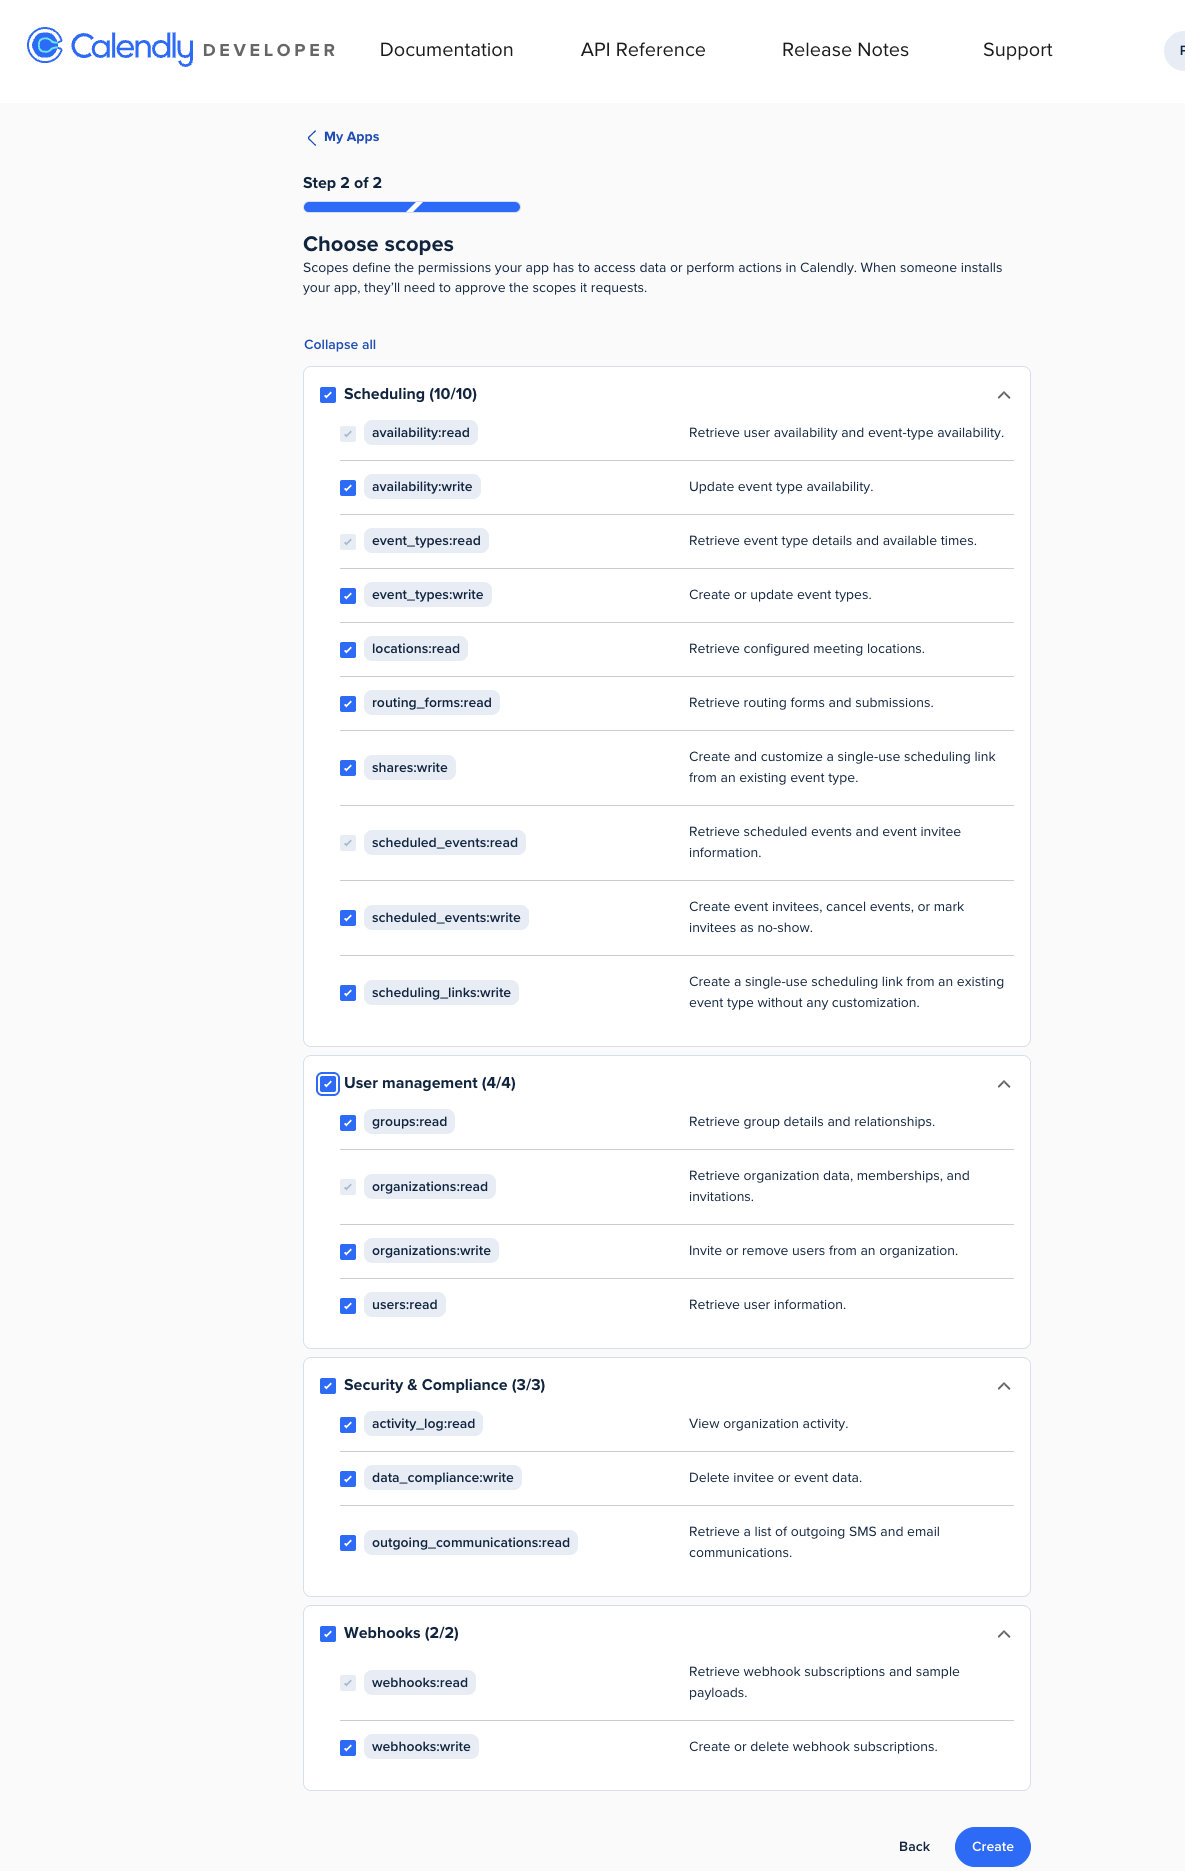
- Step 2 of 2 — Choose scopes:
- Enable all scopes in the following categories:
- Scheduling (10/10):
availability:read,availability:write,event_types:read,event_types:write,locations:read,routing_forms:read,shares:write,scheduled_events:read,scheduled_events:write,scheduling_links:write - User management (4/4):
groups:read,organizations:read,organizations:write,users:read - Security & Compliance (3/3):
activity_log:read,data_compliance:write,outgoing_communications:read - Webhooks (2/2):
webhooks:read,webhooks:write
- Scheduling (10/10):
- Click Create
- Enable all scopes in the following categories:
- Copy the Client ID and Client Secret — store them securely
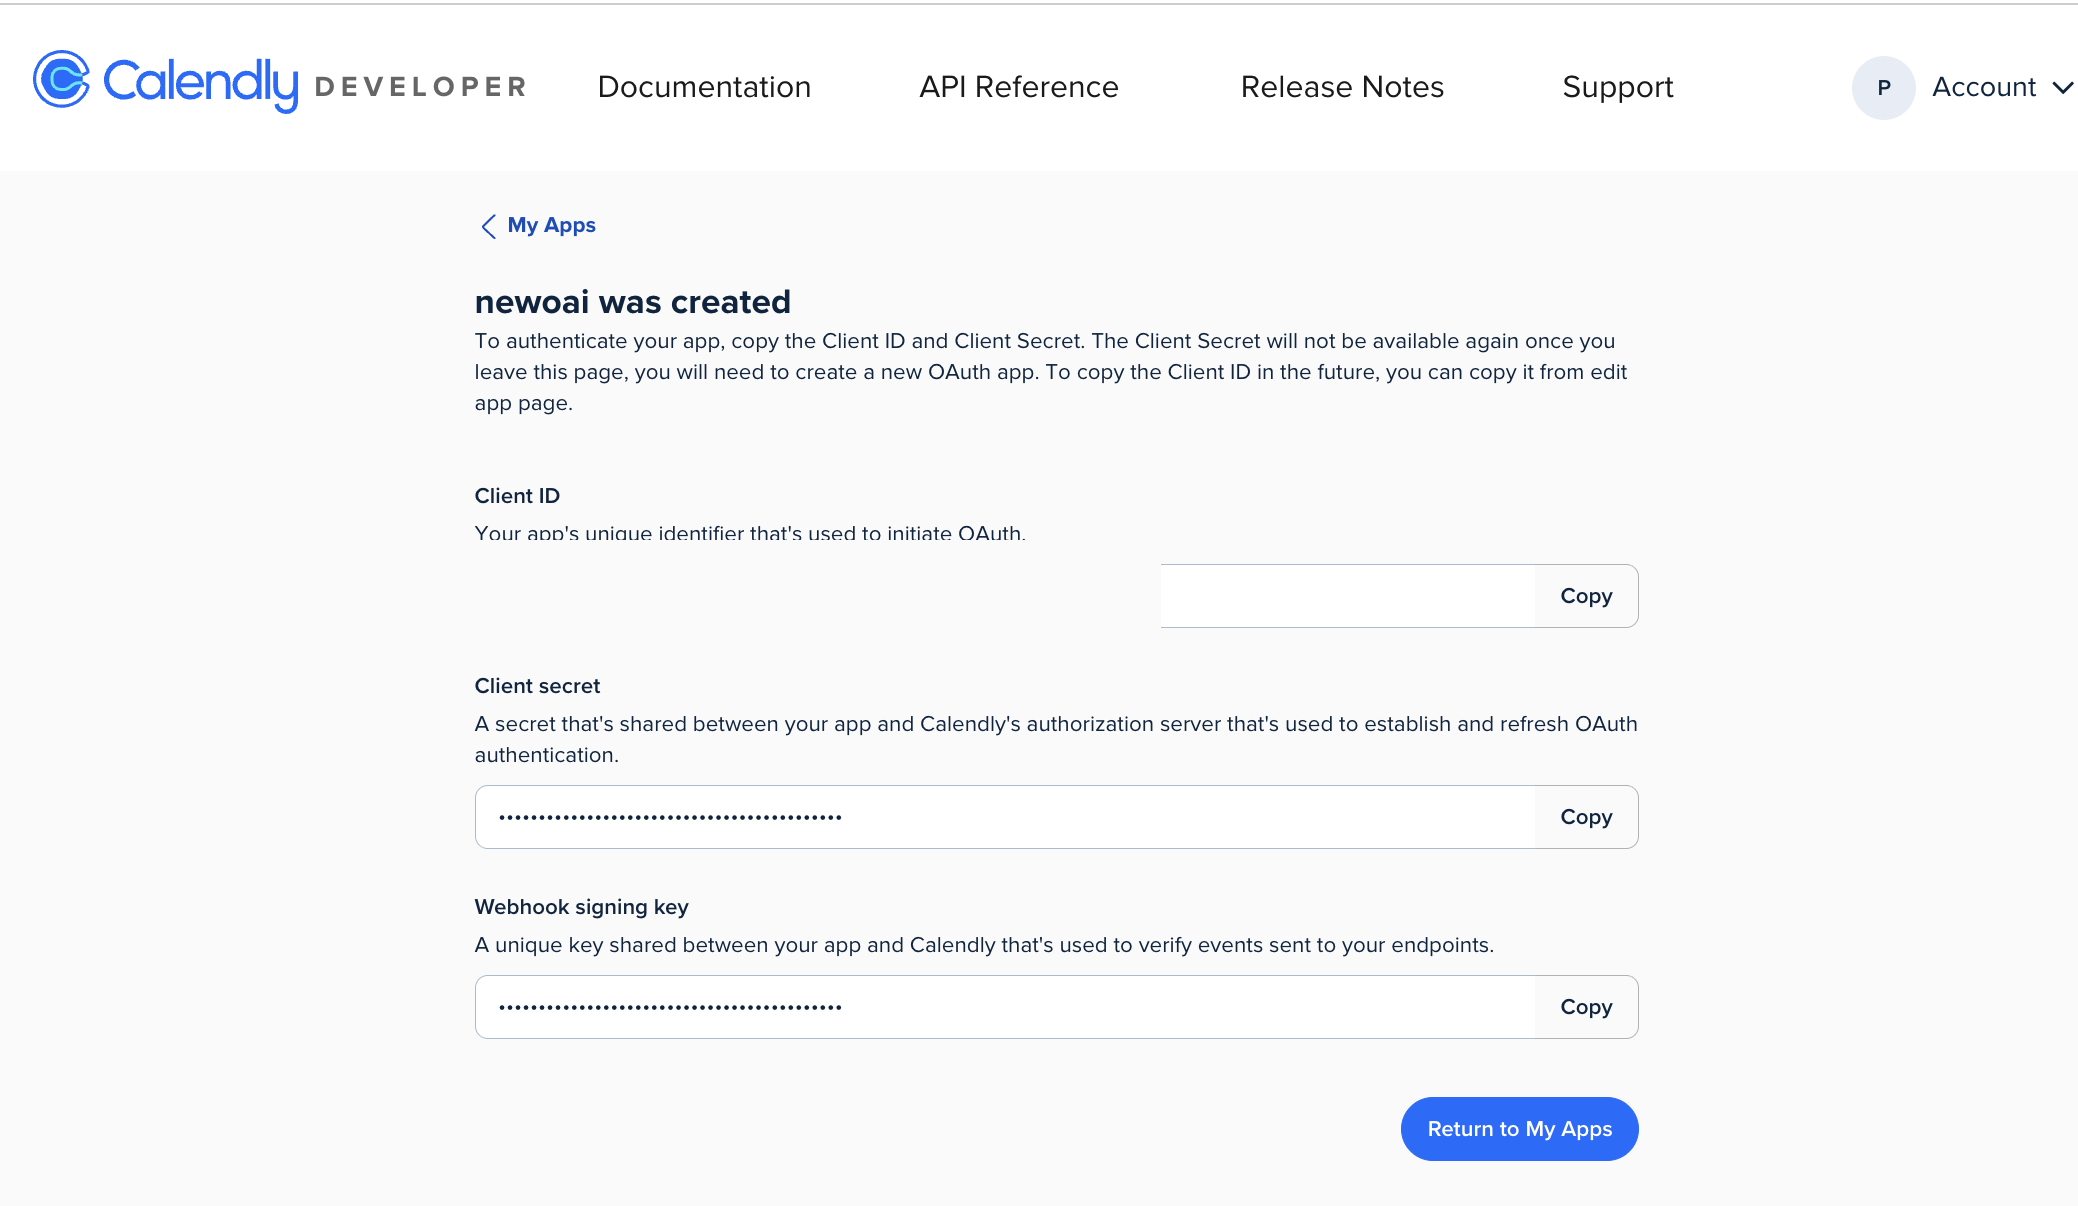
Important: The Client Secret will not be available again once you leave this page. Save it immediately. To copy the Client ID later, you can find it on the edit app page.
3.2 Step 2 — Configure Event Type in Calendly
The integration books appointments using outbound phone calls. You must configure at least one Event Type with the correct location.
- Go to Calendly → Event Types
- Select an existing event type or create a new one
- In the event settings, set Location to Phone Call (Outbound — Calendly calls the invitee)
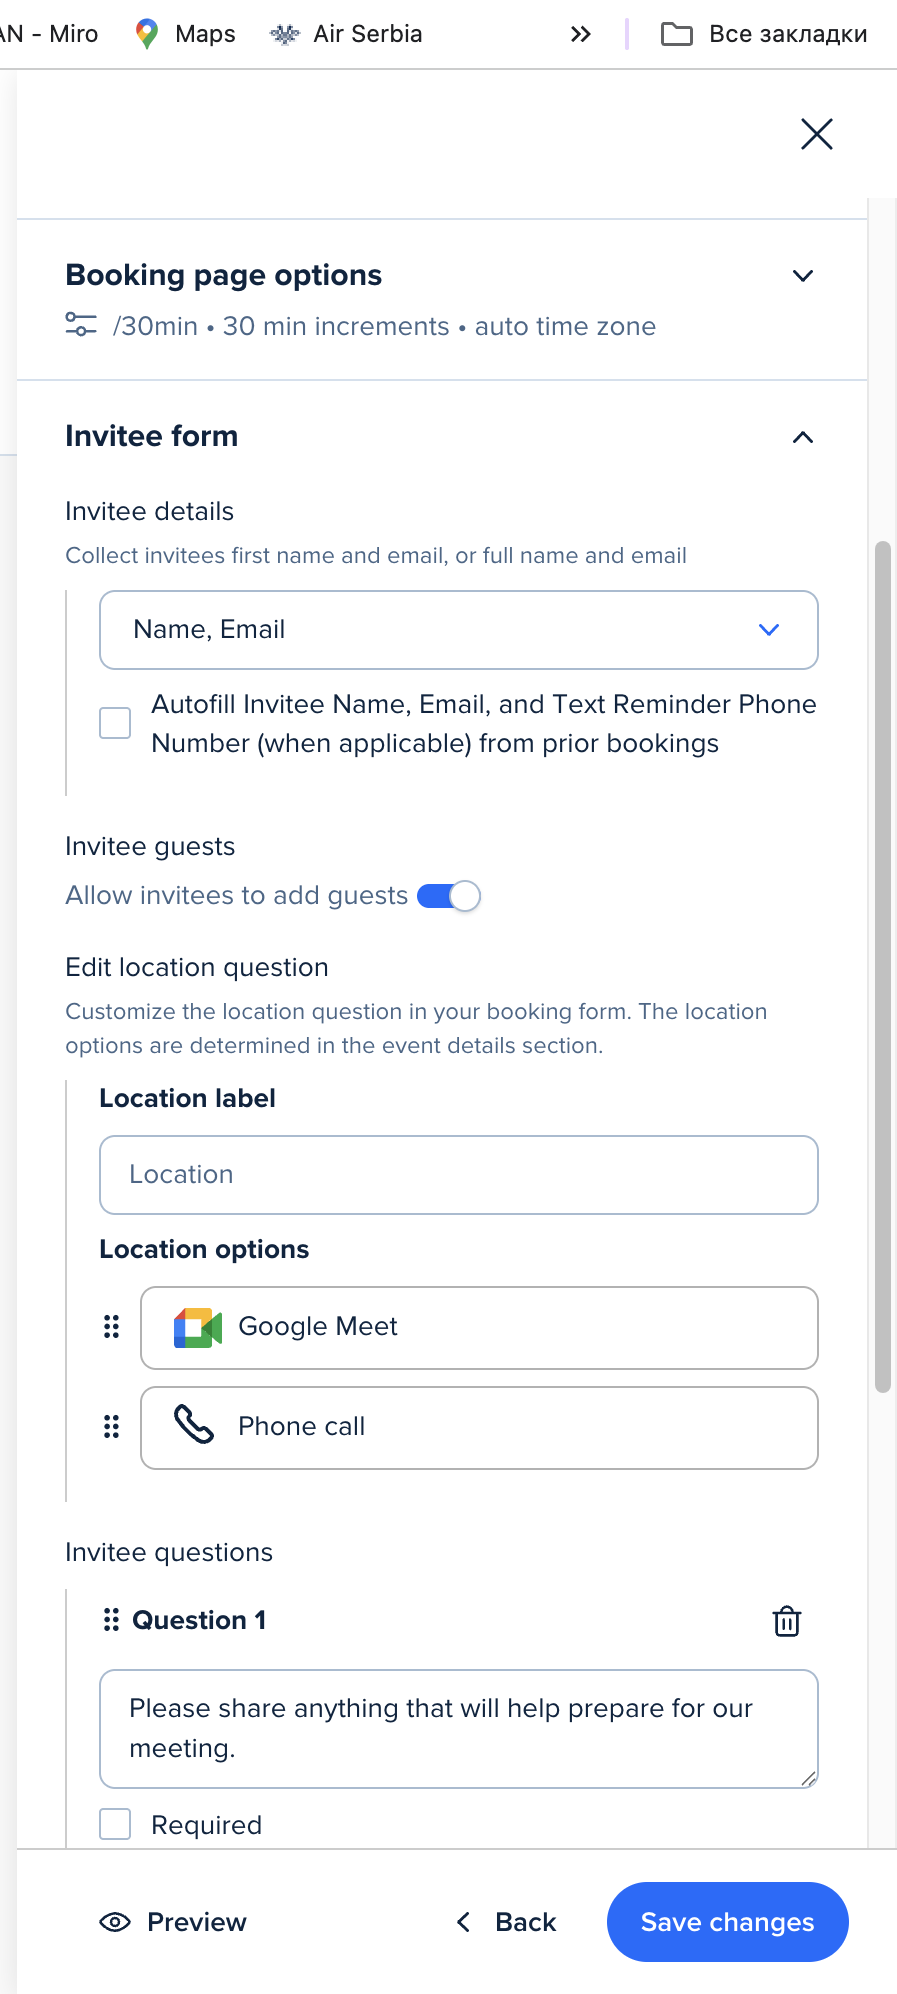
- Configure your preferred duration (this maps to
calendly_durationattribute, default: 30 min) - Save the event type
Why Phone Call? The integration sets
location.kind = "outbound_call"in booking requests. Without a matching Phone Call location on the event type, Calendly will reject the booking.
3.3 Step 3 — Connect in Newo Platform
- Open Newo → Projects
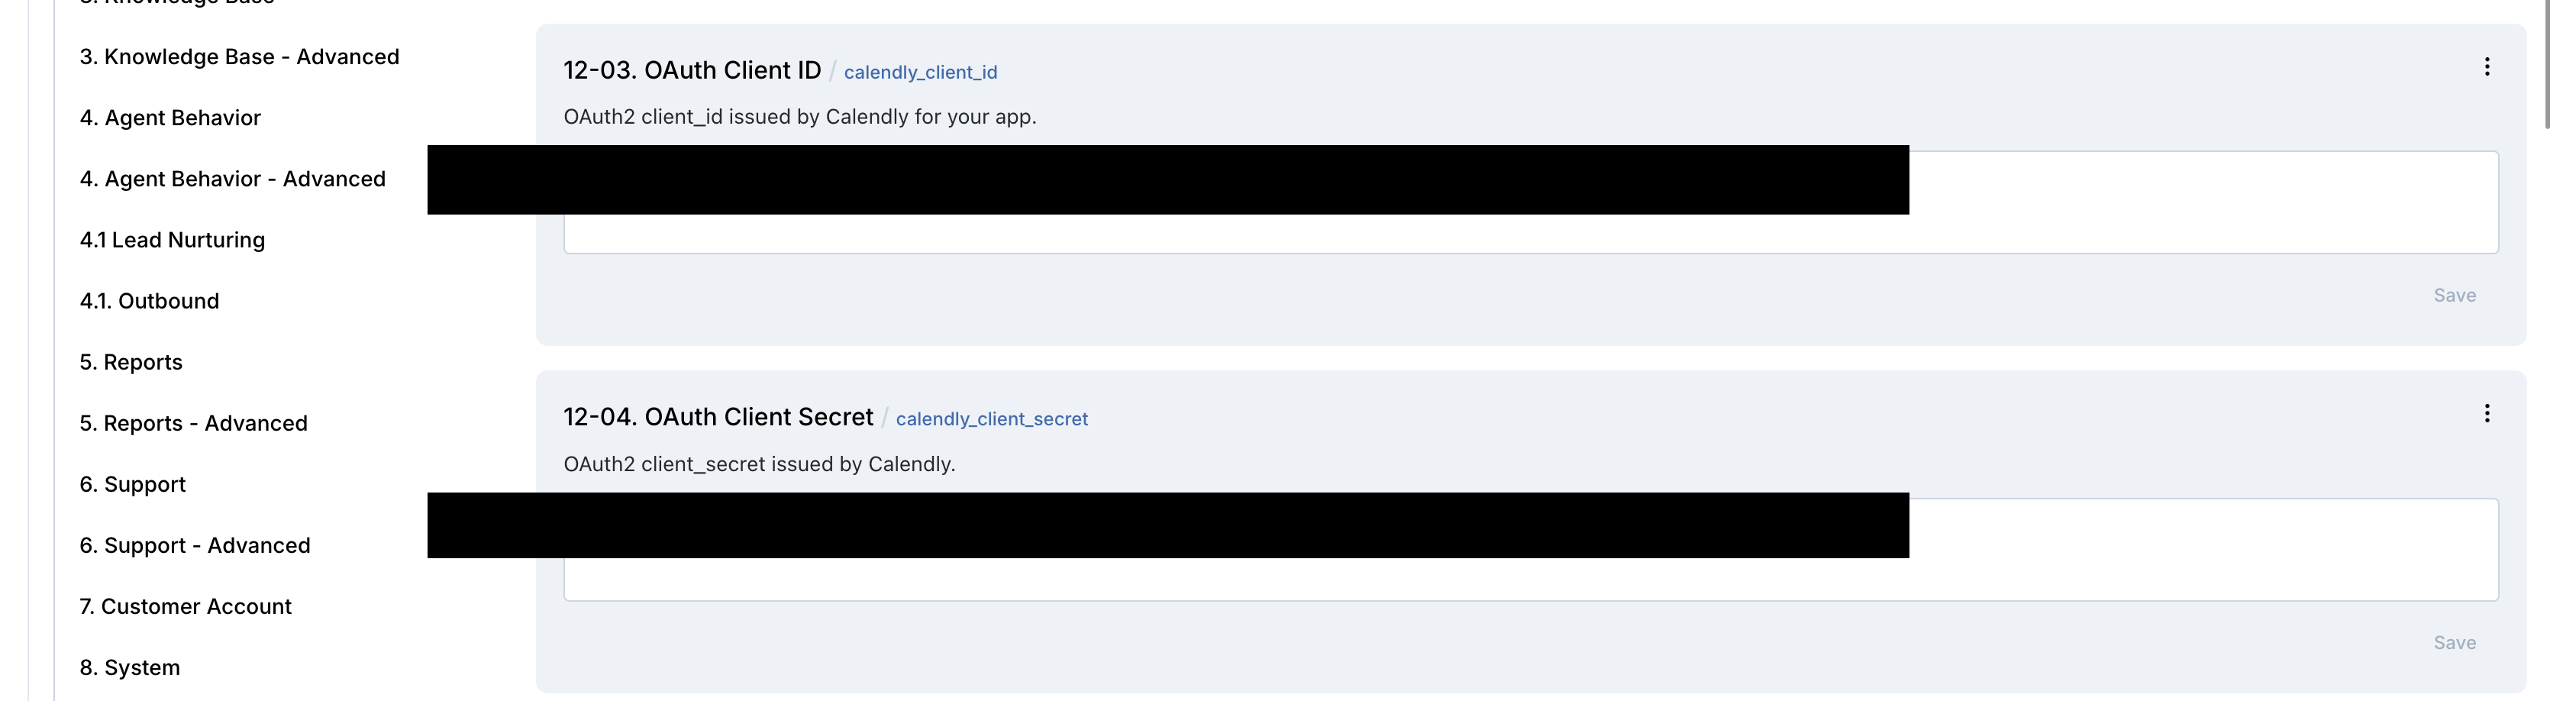
- Set the following attributes in Builder / Attributes (group: 12. Calendly Settings):
| Attribute | Required | Description |
|---|---|---|
calendly_client_id | ✅ | OAuth2 Client ID from Calendly Developer Portal |
calendly_client_secret | ✅ | OAuth2 Client Secret from Calendly Developer Portal |
calendly_redirect_uri | ❌ | OAuth2 redirect URI (default: https://static.newo.ai/auth.html) |
calendly_base_url | ❌ | API base URL (default: https://api.calendly.com) |
calendly_auth_url | ❌ | Auth server URL (default: https://auth.calendly.com). Hidden. |
calendly_event_type_uri | ❌ | Event type for booking. Auto-populated from API after OAuth setup. |
calendly_show_for_days | ❌ | Days into future to show slots (default: 5, max: 7) |
calendly_duration | ❌ | Slot duration in minutes (default: 30). Hidden. |
calendly_enable_slot_check | ❌ | Enable availability checking (default: True) |
calendly_enable_booking | ❌ | Enable booking capability (default: True) |
calendly_enable_cancellation | ❌ | Enable cancellation capability (default: True) |
calendly_check_availability_on_conversation_start | ❌ | Auto-check availability on session start (default: False) |
calendly_setup_scenarios | ❌ | Auto-add booking/cancellation scenarios to canvas (default: True) |
calendly_override_agent_attributes | ❌ | Override ConvoAgent attributes on setup (default: True) |
- Click Save + Publish All
- On publish, the SetupFlow automatically:
- Prepares the connections (
calendly_connector,calendly_token_connector) - Injects booking, availability, and cancellation schemas into ConvoAgent
- Registers booking, availability, and cancellation tools with ConvoAgent
- Adds pre-built booking and cancellation scenarios to the canvas (if enabled)
- Prepares the connections (
3.4 Step 4 — Authorize Calendly via OAuth
After publishing, you need to complete the OAuth authorization to connect your Calendly account.
- In the 12. Calendly Settings section, find the attribute 12-01. OAuth Authorization Code (
calendly_oauth_code) - In the description, click the "open Calendly authorization page" link

- A Calendly authorization page will open. Approve the access request.
- After approval, you will be redirected to the NEWO.AI "Access Granted" page showing a verification code
- Click Copy Code to copy the authorization code
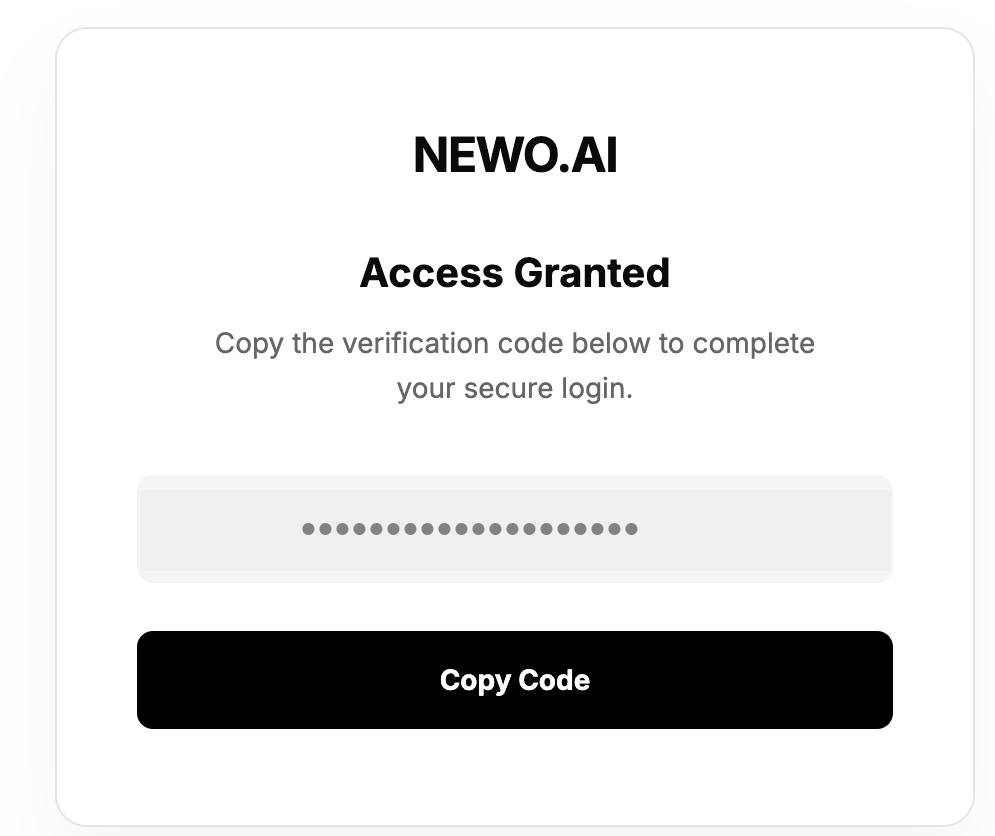
- Go back to the Newo Platform and paste the copied code into the
calendly_oauth_codeattribute field - IMPORTANT: Click the
Savebutton on the attribute card first! Do not skip this step — the code must be saved before publishing. - Click Publish All
- Reload the page in your browser (F5 / Cmd+R) after publishing is complete
- The
calendly_oauth_codefield should now be empty — this means the code was successfully exchanged for access/refresh tokens
Note: The OAuth code is one-time use. After a successful token exchange, the field is cleared automatically. If the field is not cleared after reloading, the code may have expired — repeat the authorization process from step 2.
3.5 Step 5 — Select Event Type
After successful OAuth authorization, the integration fetches your active event types from Calendly.
- Refresh the page and navigate to the attribute
calendly_event_type_uri - A dropdown will appear with your active Calendly event types
- Select the event type you want the agent to use for bookings (must have Location = Phone Call configured in Step 2)
- Click Save, then click Publish All
Important: If the dropdown is empty, ensure the OAuth authorization (Step 4) was completed successfully. If you have only one active event type, it will be auto-selected.
How to use the integration
This section explains how the integration works, how to configure automation, and how to test it.
4.1 How the Integration Works
The integration operates based on Triggers and Actions via the event-driven system.
- A Trigger is a system event that starts a flow
- An Action is the API operation performed in Calendly
Where to test
Testing can be done through the Newo conversation interface (chat or voice channel) by interacting with the agent. Use the chat transcript and external-system console to confirm the result.
How to test that everything works
To test the integration:
-
Setup: Publish the project and verify:
- OAuth authorization URL appears — click it to authorize
- After OAuth,
calendly_event_type_uridropdown shows your event types - Select the desired event type and re-publish
-
Availability: Ask the agent "What slots are available this week?" — verify:
- Slots are returned grouped by date
- Times match your Calendly calendar (booked times excluded)
- Times are in your business timezone
-
Booking: Complete a booking conversation with name, email, phone, and time — verify:
- Appointment appears in your Calendly dashboard
- Location shows as "Phone Call"
- Invitee details (name, email, phone) are correct
-
Cancellation: Request cancellation of a booked appointment — verify:
- Event status changed to "cancelled" in Calendly
- Cancellation reason shows "Cancelled by Newo.AI agent"
If no action occurs:
- Ensure
calendly_client_idandcalendly_client_secretare set correctly - Verify OAuth authorization was completed (access token should be populated)
- Confirm
calendly_event_type_uriis selected (not empty) - Check that the relevant feature flags are enabled (
calendly_enable_booking,calendly_enable_slot_check,calendly_enable_cancellation) - Verify the selected Event Type has Location = Phone Call in Calendly
- Check that
calendly_base_urlis correct (default:https://api.calendly.com) - Re-publish after making any configuration changes
Note: This integration performs real operations in Calendly. Appointments created or cancelled through the agent are reflected in the live Calendly system.
FAQ
Q: Does the integration import historical appointments? A: No. Only appointments created after activation are managed. The availability check reads existing scheduled events to calculate open slots, but does not import them.
Q: Can I connect multiple Calendly accounts? A: Each integration instance supports one OAuth connection and one event type. For multiple accounts or event types, create separate integration instances.
Q: Why must the Event Type location be "Phone Call"?
A: The integration creates bookings with location.kind = "outbound_call", which tells Calendly to call the invitee. If the Event Type doesn't have a Phone Call location configured, Calendly will reject the booking request.
Q: How is availability calculated? A: The integration fetches all active scheduled events from Calendly within the configured window (default: 5 days). It then generates all possible time slots based on the configured duration (default: 30 min) and removes any slots that overlap with existing events. The remaining slots are returned grouped by date.
Q: What happens if the OAuth token expires? A: The integration automatically detects 401 responses and refreshes the token using the stored refresh token. It retries the original request up to 3 times. If refresh fails, an error is reported to the agent.
Q: What data does the agent collect for booking? A: Required: first name, email, and phone number (with country code). Optional: last name. The phone number is also used as the outbound call location. The agent reads persona attributes first and only asks the user for missing information.
Q: What scenarios are added to the canvas?
A: When calendly_setup_scenarios is enabled, the integration adds: a Speed-to-Lead outbound call scenario (for initial greeting and intent clarification), a Cancellation via Agent scenario (with required confirmation phrases), and a common appointment scheduling scenario. Generic appointment/cancellation scenarios are removed to avoid conflicts.